Search for answers or browse articles about Sintel Forms
Applying a theme and adding icons or graphics
You have 3 options for styling and adding graphical elements to your forms. You can choose one or a combination of all of them to achieve the design you need.
- ThemeWithin the Setting screen of the Sintel Forms Designer you can define a custom theme to apply to your form that matches your organisations branding guidelines.
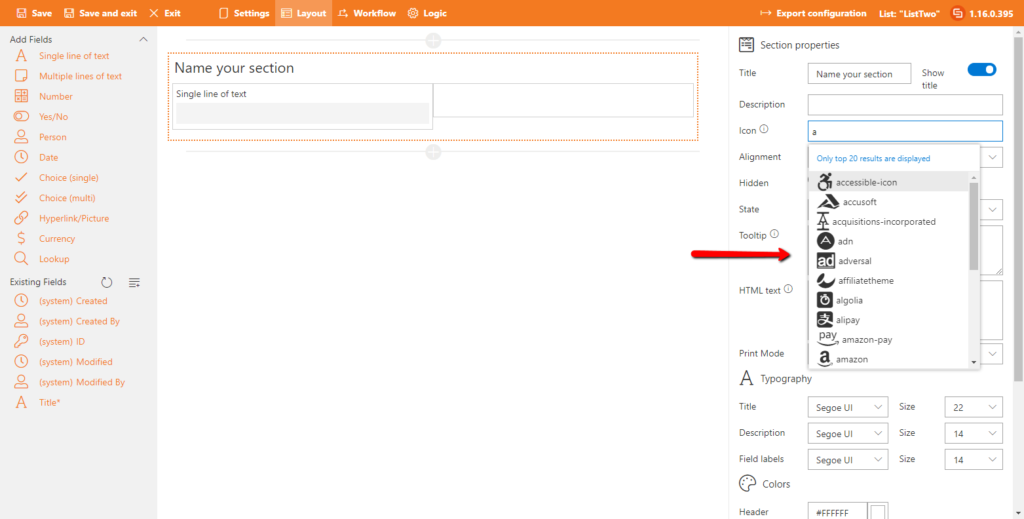
- Custom IconsYou can use the built-in FontAwesome support to add an icon to any sections from the thousands of icons available.
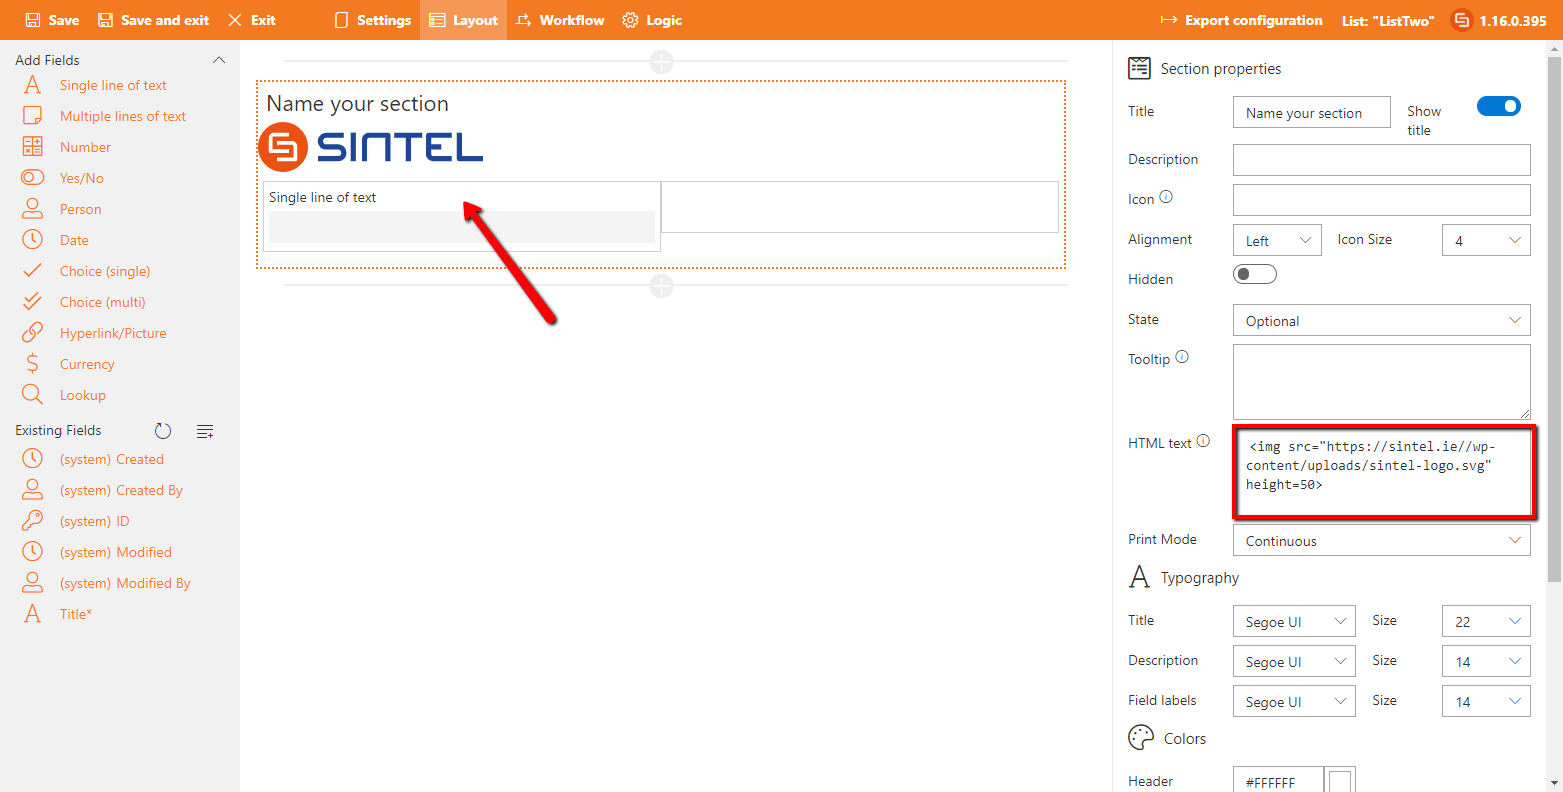
- Custom GraphicsYou can use the “Custom HTML” property of a section to embed images or your company logo.
Applying a theme
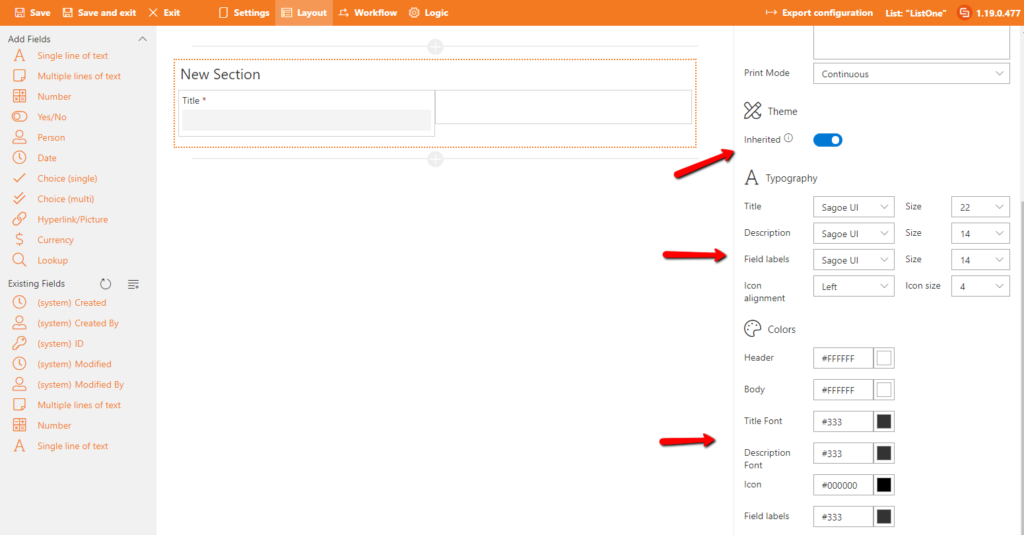
The effective way to improve the visuals of your Form is by applying the theme. The global Theme settings can be found in the Settings screen. Once you have defined a Theme it’s settings are applied for every new section and field placed on the layout.
Notice that the option ‘Inherited’ is enabled. That means that every change made to the global Theme settings will be automatically applied for this section/field. You can always disable this if necessary or manually override it by simply making changes to the typography/colors directly on the layout screen.
Adding Icons
- Launch the Sintel Forms Designer and click on the section in which you want to add an icon.
- Within the “Icon” property type the name of an icon to start seeing suggestions or browse the FontAwesome website to find the one you wish to use.
- Once you have chosen the icon you can optionally set its alignment and size, you can also set its color from within the “Theme” group near the bottom of the properties panel.

Adding Graphics
- Launch the Sintel Forms Designer and click on the section in which you want to add the graphic.
- Within the “Custom HTML” property insert HTML such as the following example, replacing the path with the path to your graphic.
<img src="https://s3.eu-west-1.amazonaws.com/sintel.workspace/DemoFormLogos/sfs-logo.svg" height=50>


