Search for answers or browse articles about Sintel Forms
About Layout
Once you have enabled Sintel Forms, you can customise the layout to suit your needs. Sintel Forms utilizes Fluent UI (formerly Office UI Fabric) to control the layout, giving you flexibility in designing your forms.
Layout Customisation Options
You can:
- Add or remove sections, including tabbed sections.
- Add or remove columns within sections (minimum 1 column, maximum 4 columns).
- Add or remove containers within columns.
- Add or remove fields within containers.
When the form designer loads and you select the Layout option, a section containing two columns with containers is automatically added. You can start dragging fields from the Properties Panel on the right side of the screen immediately.
You can add up to four columns per section and as many containers within each column as needed.
1. Adding and Deleting Sections
To add a section, hover over the grey Add Section bar until it becomes active, then click on it. You will be presented with two options:
- Section – A standard section for placing fields directly onto the form.
- Tabbed Section – A section that groups related fields into tabs, making forms more organized.

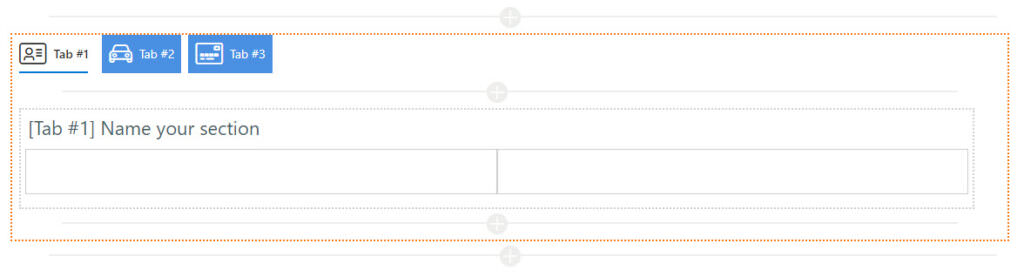
Customising Tabbed Sections
When using a tabbed section, you can:
- Define multiple tabs.
- Customize tab text, color, and icons.
Regardless of the section type, you can remove a section by clicking the delete icon on the right side.
By default, new sections contain two columns and containers for adding fields. However, you can delete or modify these elements as needed.
2. Adding Columns
To add a column, hover over the header of a section. A + (Add Column) icon will appear, allowing you to insert a new column.

3. Modifying Columns
When you hover over a column, a menu appears with the following options:
- Move – Shift the column left or right.
- Resize – Adjust the column width.
- Delete – Remove the column from the layout.

4. Adding and Deleting Containers
- To add a container, hover over a column and click the Add Container bar when it becomes active.
- To delete a container, hover over it and click the delete icon.
5. Adding and Deleting Fields
Once you have added containers to your form layout, you can drag fields from the List Field section onto any container in the form.
6. Refresh and Auto Layout
The Layout section includes two useful buttons:
- Refresh – Updates the form layout to reflect any recent changes, such as deleted fields, modified properties, or newly created fields.
- Auto Layout – Automatically generates a new one-column section containing all existing fields that are not yet included in the layout.
7. Merging Sections (Cosy Interface Only)
You can merge multiple adjacent sections to allow you to create flexible column layouts by treating neighbouring sections as if they were a single, unified section.
This feature enhances layout customisation and is especially useful for creating more dynamic designs.
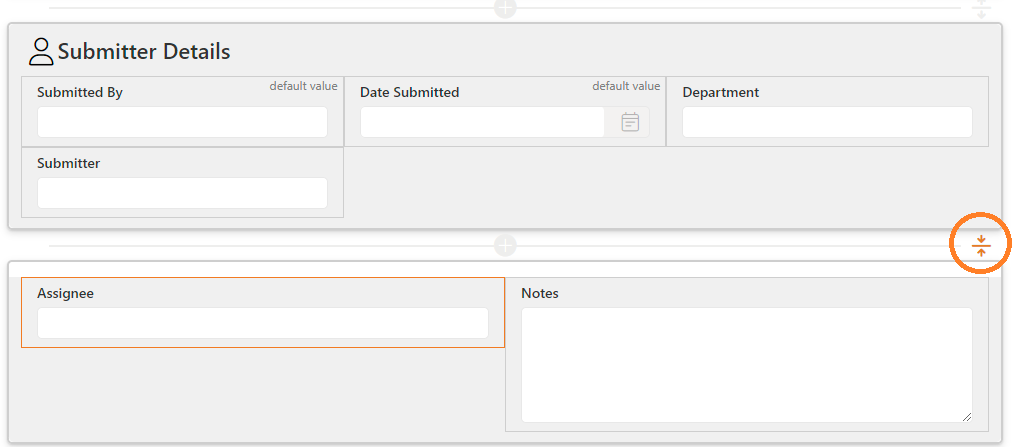
Merging sections in Sintel Forms Designer
Note: Merging sections is only available when using the Cosy interface.
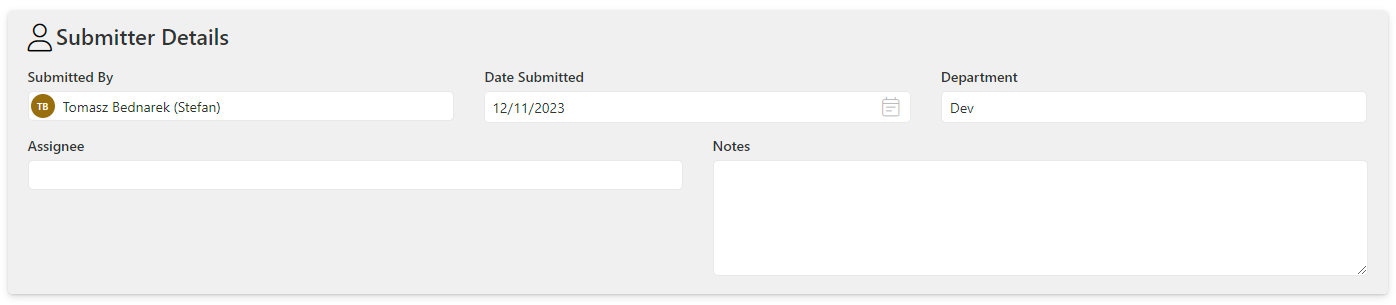
Merged Sections
Note: Sections won’t appear visually merged in the Designer; however, you can check if sections are merged by hovering over the merge icon, or save and open the form to see how they are displayed as a single unified section
8. Removing Section Background
You can remove a section’s background, making it transparent and removing its border and shadow. This enables a cleaner and more integrated design.
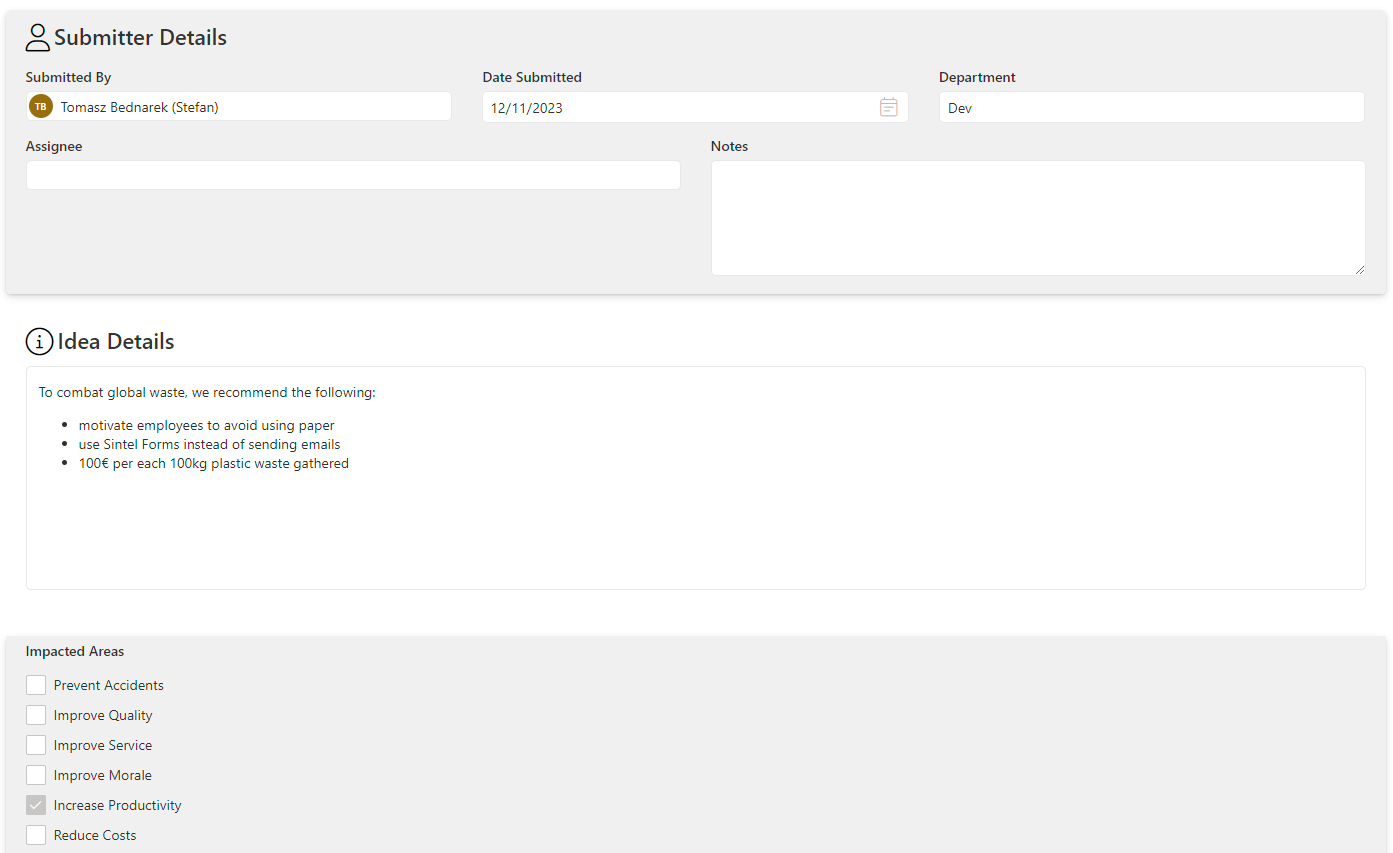
Middle Section with background removed
Key behaviour when background is removed:
-
Fields that inherit their Theme settings from the section will also have their background removed.
-
The Header and Body colour settings for the section will be disabled.
-
The Body colour setting will be disabled for fields that inherit their theme from the section.