Search for answers or browse articles about Sintel BI
Scheduler
Designed to simplify and streamline your data visualisation experience, the Scheduler allows users to effortlessly integrate event management, room bookings, and hot desk functionalities into their dashboards with just a simple drag-and-drop action.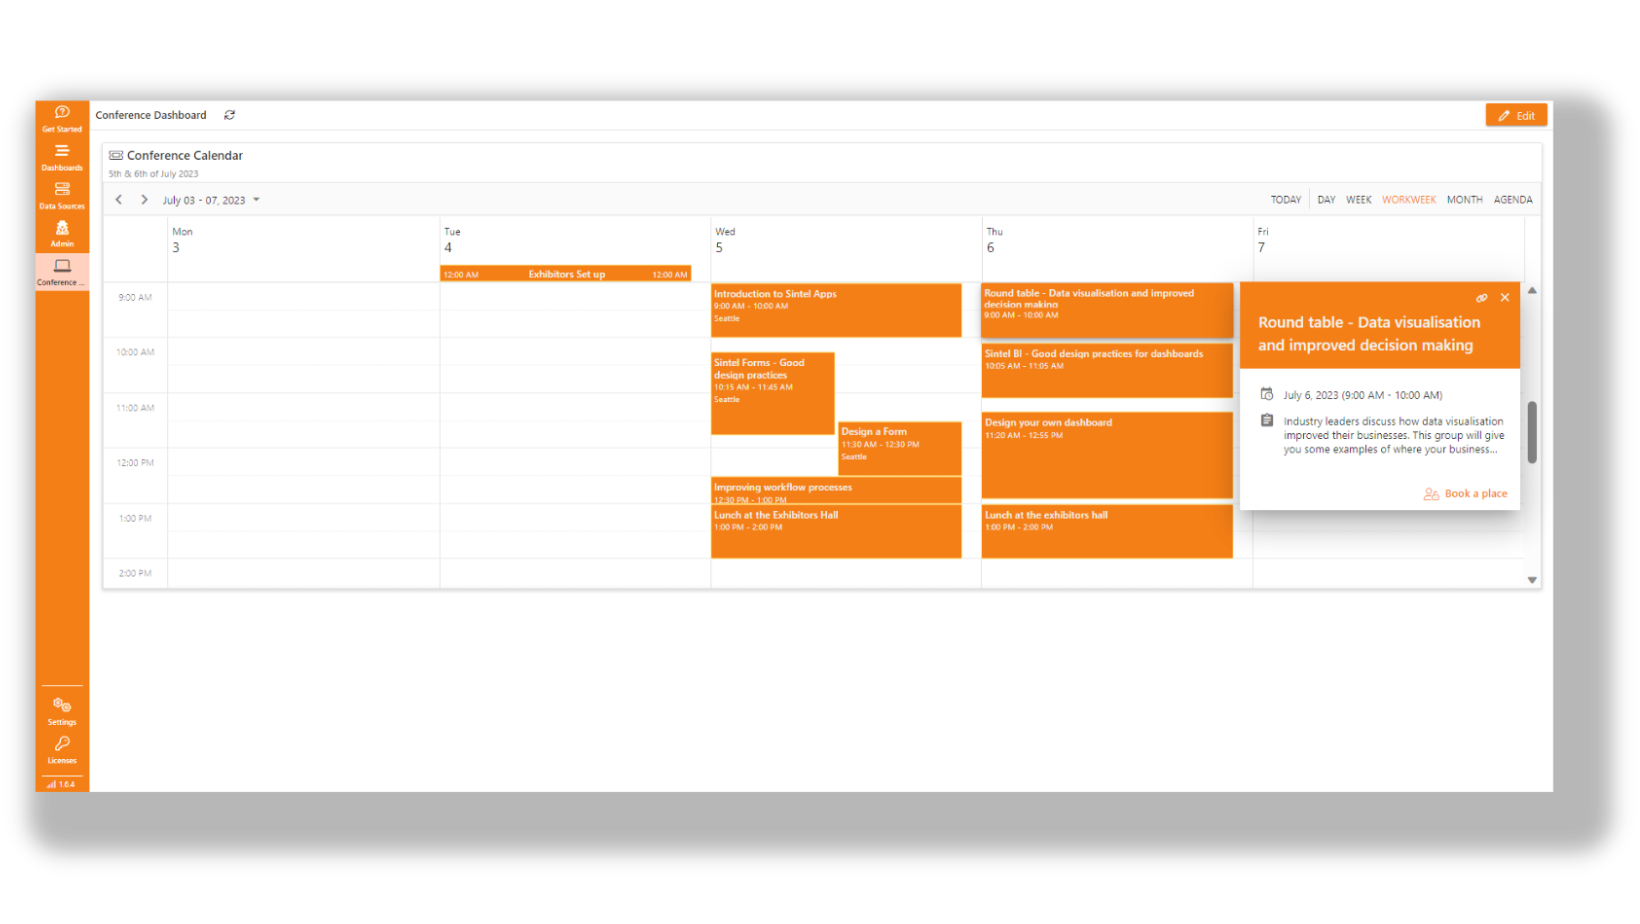
By leveraging the power of SharePoint, Sintel BI users can now take advantage of the versatile event itinerary list template. This list template enables the creation and population of event-related information, which can be seamlessly connected to the Sintel BI Scheduler component on your dashboard.
Whether you are organizing conferences, managing room reservations, or optimizing hot desk utilisation, the Scheduler empowers you to showcase these vital activities in an intuitive and visually appealing manner.
If you wish to add the scheduler, follow these simple instructions:
Step 1: Add the component
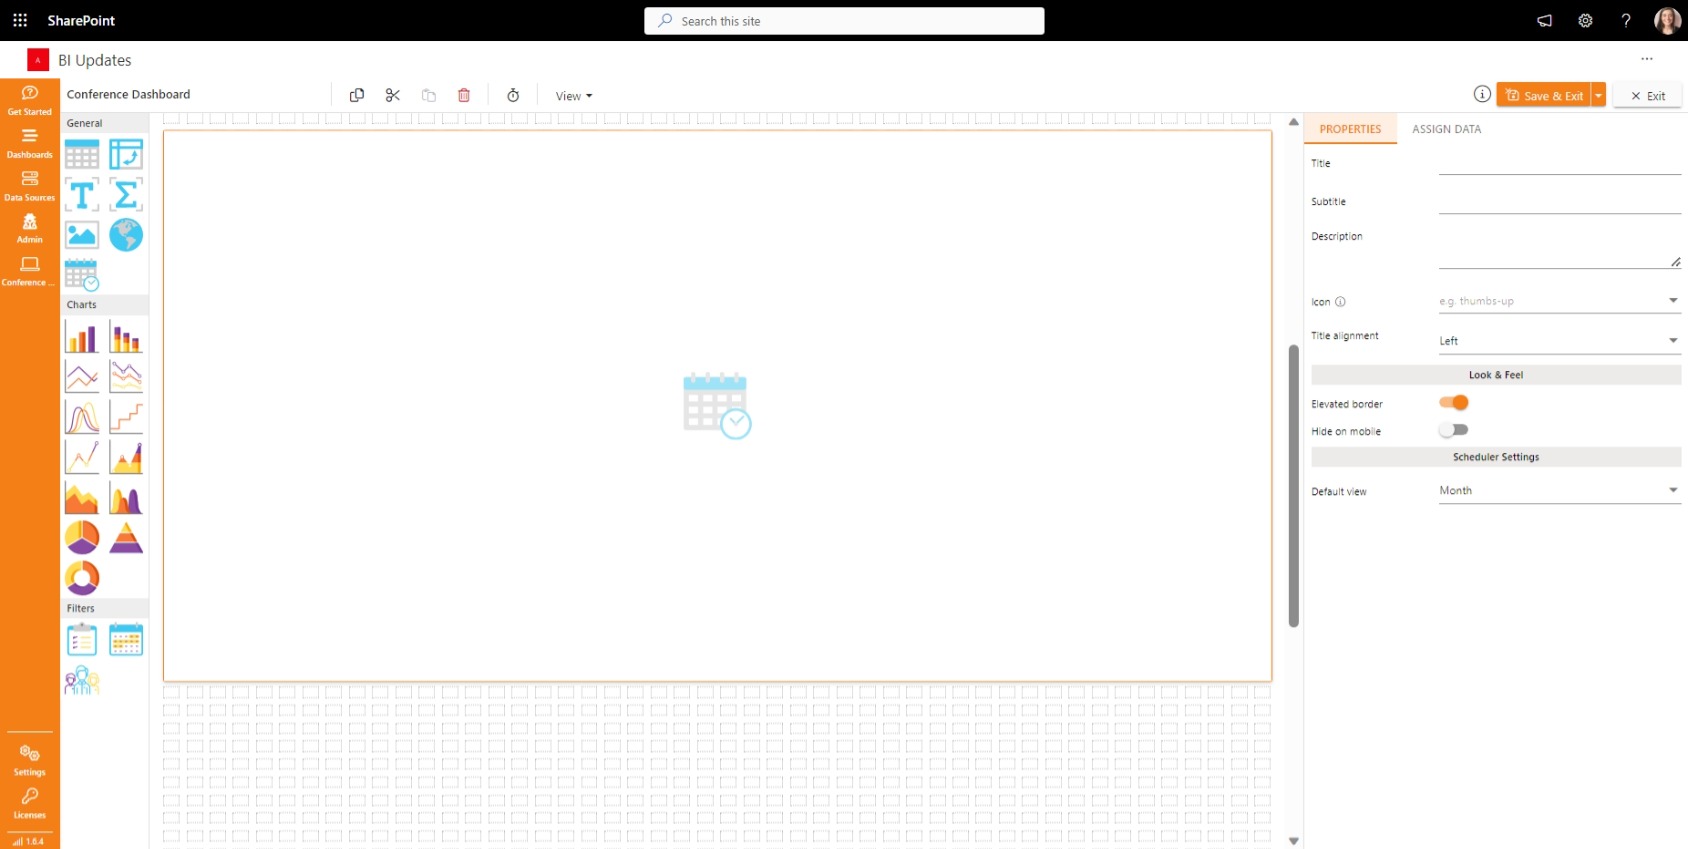
- Drag and drop the Grid icon from the container on the left of your dashboard when in design view.
- Adjust the grid according to the required size.
Step 2: Name the component
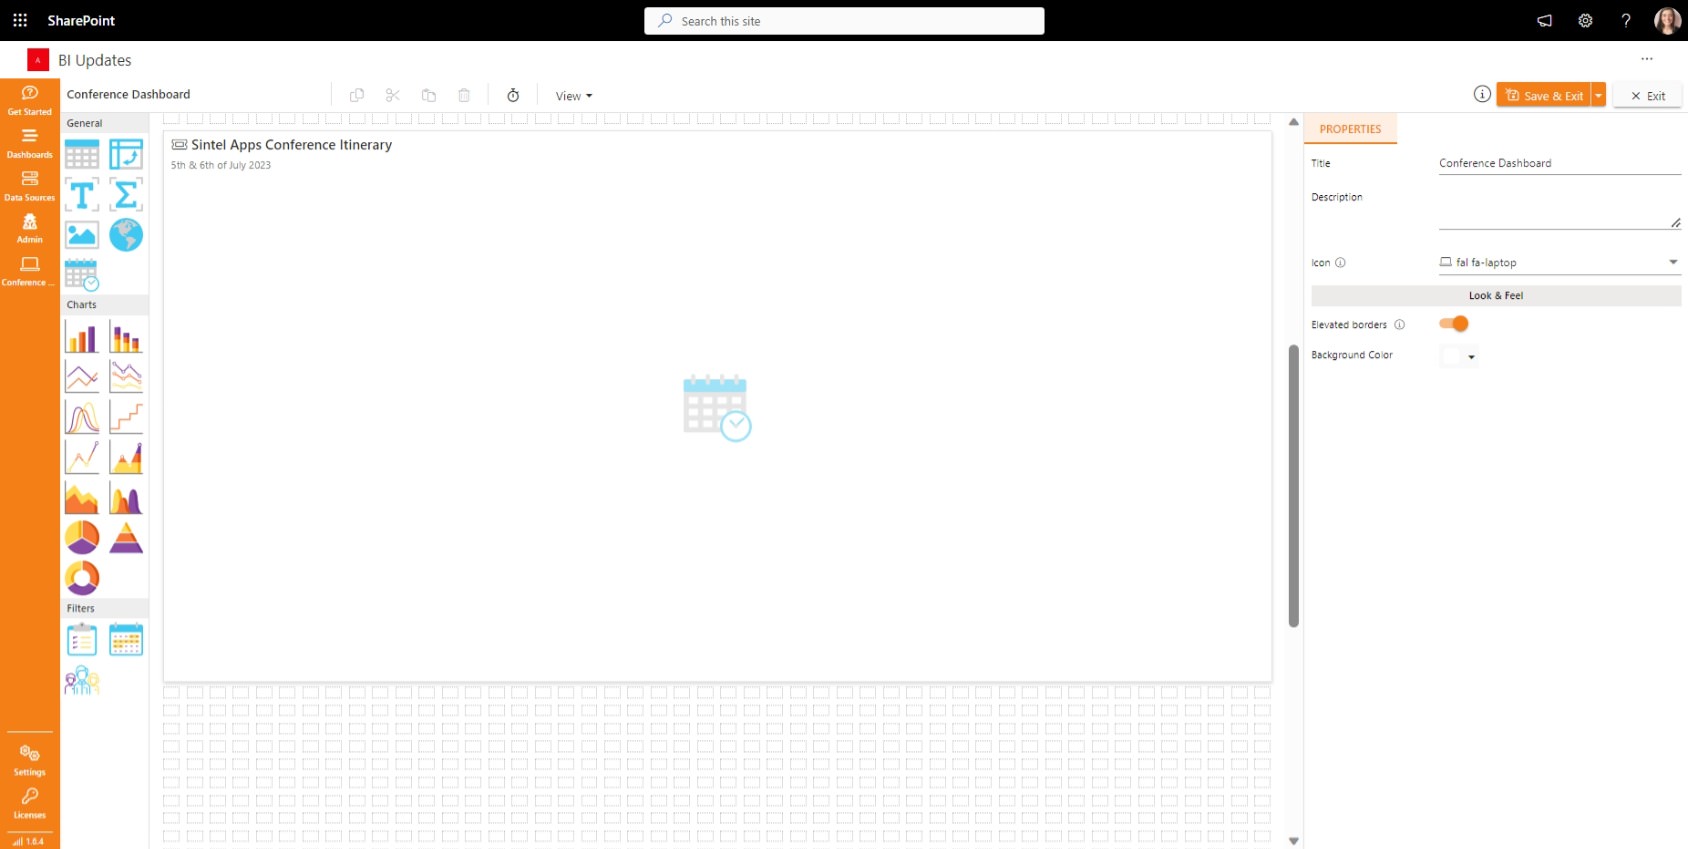
- Selecting the empty grid component will open the properties pane on the right-hand side. We always start by naming the new component and giving it a description and an icon.
- At this point you can also decide on the look & feel of the calendar- decide if you want it to have elevated borders, and if you want it to be available on mobile.
Step 3: Scheduler settings
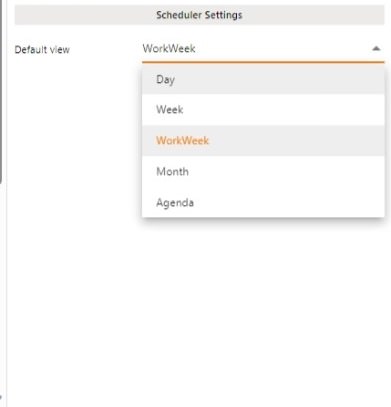
Here you can decide the default view of the scheduler. The options are Day, Week, Work Week, Month and Agenda.
In this example, we have selected work week, but you can choose the option which works best for whatever you are displaying.
Step 4: Add an action button
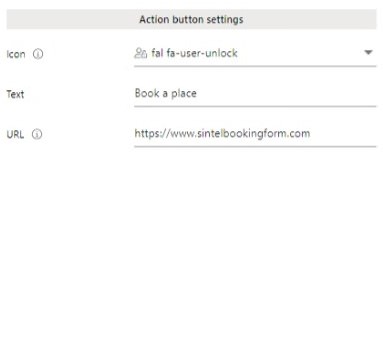
If you wish, you may add an action button to events. In this example we used the action button as a means of allowing participants to book a spot on one of the workshops.
Step 5: Assign Data:
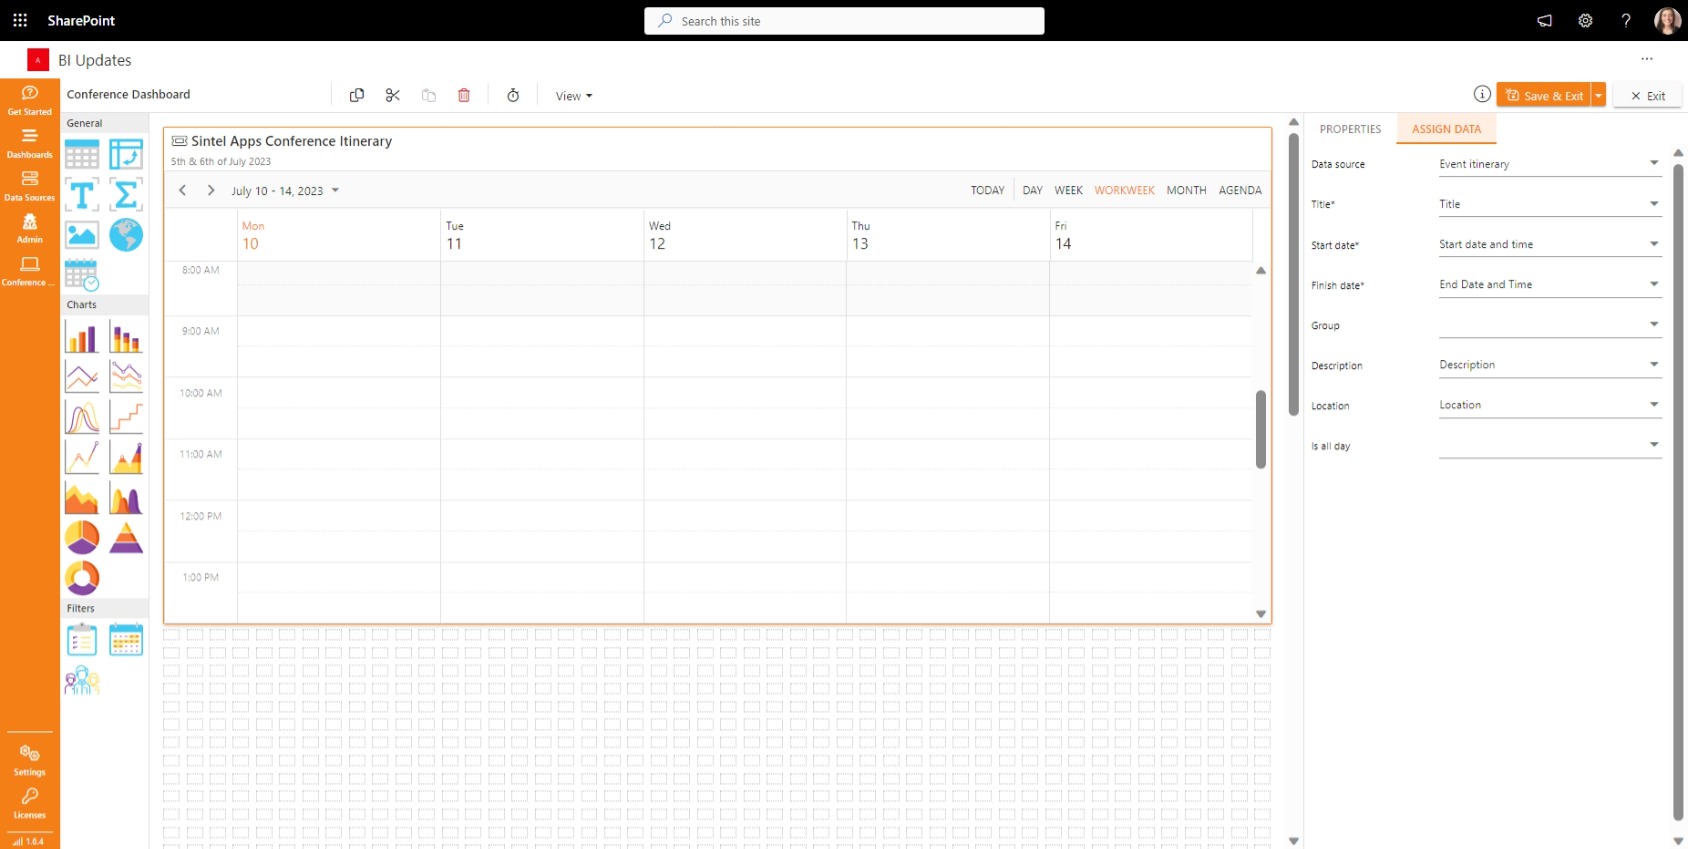
- Select your data source, in this example, I have selected my event itinerary list from SharePoint. This list contains all the information related to different dates and times for sessions at a conference.
- Select a title: This is the name of the event which will be displayed on your calendar.
- Select start date
- Select finish date
- You can choose to group events by columns. In this example, I chose not to group my events but I could have grouped my events by ‘session type’. If this scheduler showed available bookings for hairdressers, I could group appointments by hairdresser or by treatment.
- You can also select the location of the event.
- Lastly, you can also mark events as “Is all day“. This setting only allows the selection of boolean (Yes/No) columns.
Step 6: Save & Exit
Once you have the above steps completed you can save and exit.
What else can I use the schedule component for?
- Employee Shift Scheduling:
The Scheduler can be used to create and manage employee schedules, including shift timings, breaks, and assignments. This feature enables efficient workforce management and ensures optimal staffing levels across different departments or locations. - Project Management:
With the Scheduler, project managers can track and visualise project timelines, milestones, and task deadlines. It allows team members to have a comprehensive view of project progress and ensures everyone stays aligned with project schedules and deadlines. - Appointment Booking:
Businesses that rely on appointment-based services, such as salons, healthcare facilities, or consulting agencies, can use the Scheduler to enable online appointment booking. Clients can easily view available time slots and book appointments directly from the dashboard, eliminating the need for manual scheduling and reducing administrative overhead. - Equipment or Resource Reservations:
The Scheduler can be leveraged to manage reservations for equipment, facilities, or shared resources within an organization. Users can quickly check availability, book resources, and avoid conflicts, ensuring efficient utilization and preventing double bookings. - Training and Course Scheduling:
Educational institutions or corporate training departments can utilize the Scheduler to organize and display training sessions, workshops, or course schedules. This allows learners to view available sessions, register for courses, and stay informed about upcoming training events. - Travel and Conference Management:
The Scheduler can play a vital role in managing travel itineraries, conference schedules, and session details. It provides a centralized view of all travel-related information and enables participants to access important event details and plan their agendas effectively. - Maintenance and Service Scheduling:
For maintenance teams or service providers, the Scheduler can assist in planning and tracking routine maintenance tasks, service appointments, or equipment inspections. It ensures that maintenance activities are scheduled efficiently and helps minimize downtime.