Search for answers or browse articles about Sintel BI
-
Getting Started
-
Data Sources
-
Charts
-
Grids
-
Filters
-
General components
-
FAQs
-
Troubleshooting
- Cannot update the Sintel BI App
- Cannot open Sintel Forms in a dialog
- Blank screen when opening a dashboard
- Warning when opening a dashboard
- Error when attempting to view data in a data source
- Error displaying data on a Dashboard
- Cannot export an app due to outdated data sources
- Cannot export an app due to error
- How to remove or reinstall Sintel BI
- Cannot Export a Sintel App Template due to long internal field names
- Cannot share dashboards with AD groups
- Warning SintelBISPSPrinciples does not exist
- Sintel BI The Server Isnt Responding Temporary Fix And AppSource
-
Product Updates
-
Create App Templates
-
Settings
-
Other
-
Advanced Features
Excel
0 out of 5 stars
| 5 Stars | 0% | |
| 4 Stars | 0% | |
| 3 Stars | 0% | |
| 2 Stars | 0% | |
| 1 Stars | 0% |
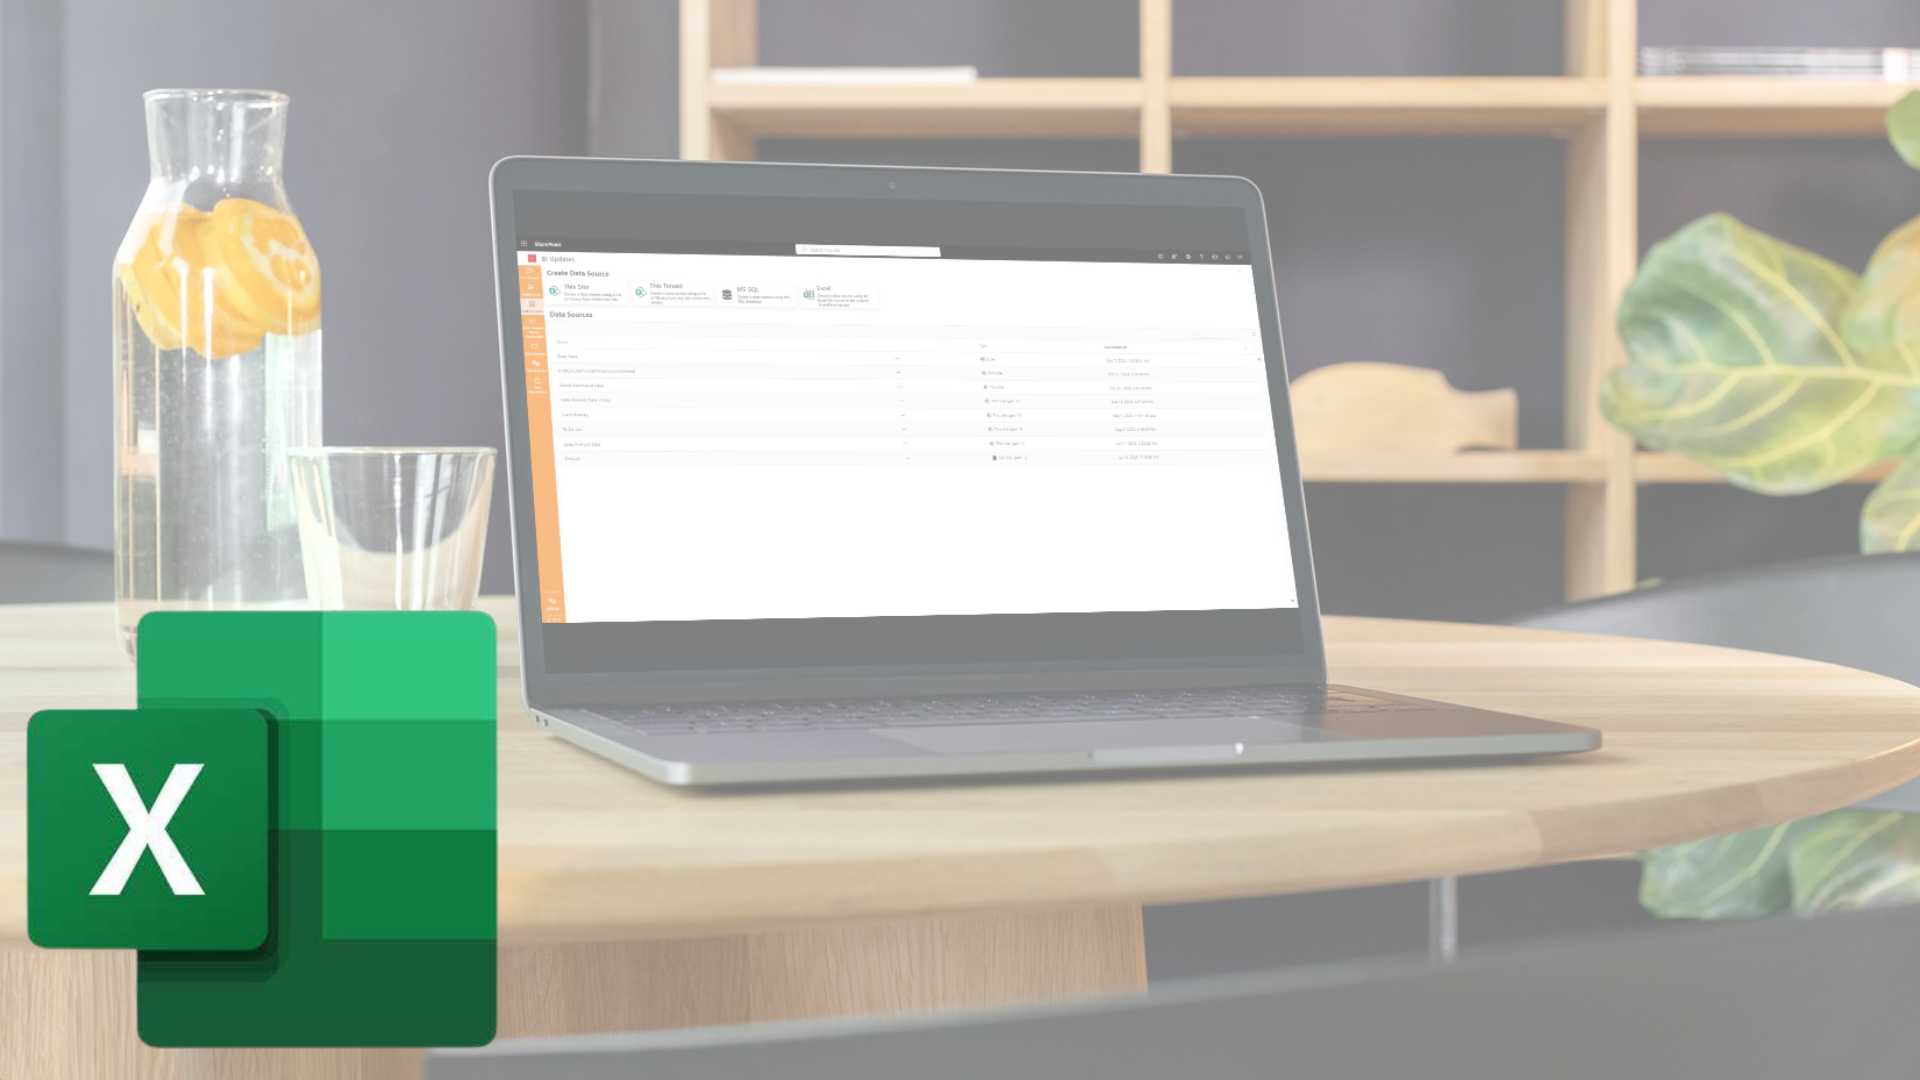
This guide will walk you through the steps required to add an Excel data source to Sintel BI. By following these instructions, you will connect an Excel workbook saved in your SharePoint environment and link it within Sintel BI for analysis.
Step 1: Upload Your Excel Workbook to SharePoint
The first step is to upload your Excel workbook to SharePoint, which will host the file for Sintel BI to access.
To upload your file:
- Open your SharePoint site.
- Select Site Contents from the left navigation menu.
- Inside Site Contents, open the Site Assets library.
- Within Site Assets, click Upload.
- Select and upload the Excel file you want to connect to Sintel BI.
Once uploaded, your Excel workbook will be stored in Site Assets and ready for use.
Step 2: Get the Link for the Excel Workbook
To link the Excel file to Sintel BI, you need its direct URL.
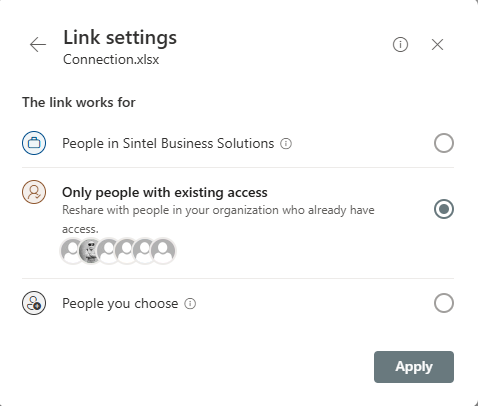
Method 1: Using “Copy Link” (Default Method)
- Locate the Excel file within Site Assets.
- Click on the three dots (or right-click the file) and select Copy Link.
- In the link settings popup, ensure that the first option is selected: People in your organisation with the link can view.
Note: If someone chooses the second option, “Only people with existing access”, the link may not work in Sintel BI, even if the file permissions are correct.
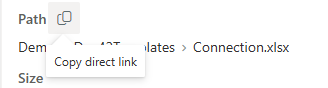
Method 2: Using the Details Pane (Alternative Method)
If the above method does not work, use the Details Pane to obtain the direct link:
- Click on the three dots (or right-click the file), then select Details.
- In the Details pane on the right, scroll down to Path.
- Click the copy icon next to the file path to get the direct link.
This method ensures you’re getting the actual file path, which may be more reliable when permission-based sharing links cause issues.
Step 3: Add the Excel Data Source in Sintel BI
With the file link copied, follow these steps to connect it in Sintel BI:
- Open Sintel BI and go to the Data Sources section from the left navigation menu.
- Select Excel as the data source type.
- Paste the copied link into the File URL field.
- Click Validate. If the link is correct, Sintel BI will confirm access to the file.
- After validation, choose the specific sheet within the workbook that you want to use in Sintel BI.
- Give the data source a meaningful name to help identify it later.
- Click Save to complete the setup.
Once connected, any updates made to the Excel workbook in SharePoint will automatically be reflected in your Sintel BI dashboard, there will be no need to manually refresh the data source.


By following these steps, you’ll successfully integrate your Excel workbook from SharePoint into Sintel BI, ensuring real-time updates in your BI dashboard.
0 out of 5 stars
| 5 Stars | 0% | |
| 4 Stars | 0% | |
| 3 Stars | 0% | |
| 2 Stars | 0% | |
| 1 Stars | 0% |