Search for answers or browse articles about Sintel Apps
Configuring Power Automate Webhook
Sintel Apps supports integration with Microsoft Power Automate through webhooks. This allows a Sintel Apps workflow to trigger a Power Automate flow automatically when an action occurs.
For example, you could configure a workflow so that completing an action in Sintel Apps triggers a Power Automate flow that creates an item in another SharePoint list or starts another automated business process.
This article explains how to configure a Power Automate webhook in Sintel Apps.
Before You Start
You will need:
- Access to Microsoft Power Automate.
- A Power Automate flow that can be triggered using an HTTP/webhook URL.
- Access to the Sintel Apps Designer.
- The required permissions to configure Sintel Apps and grant the necessary application consent.
Step 1 – Create Your Power Automate Flow
First, create the flow that you want Sintel Apps to trigger.
The flow should use a trigger that provides a URL that can be called externally. Once the trigger has been configured, Power Automate will generate a URL for the flow.
Copy this URL.
You will use it when configuring the webhook in Sintel Apps.
Tip: You can also create a simple test flow first to confirm that the integration is working before adding your full business logic.
Step 2 – Add the Webhook in Sintel Apps
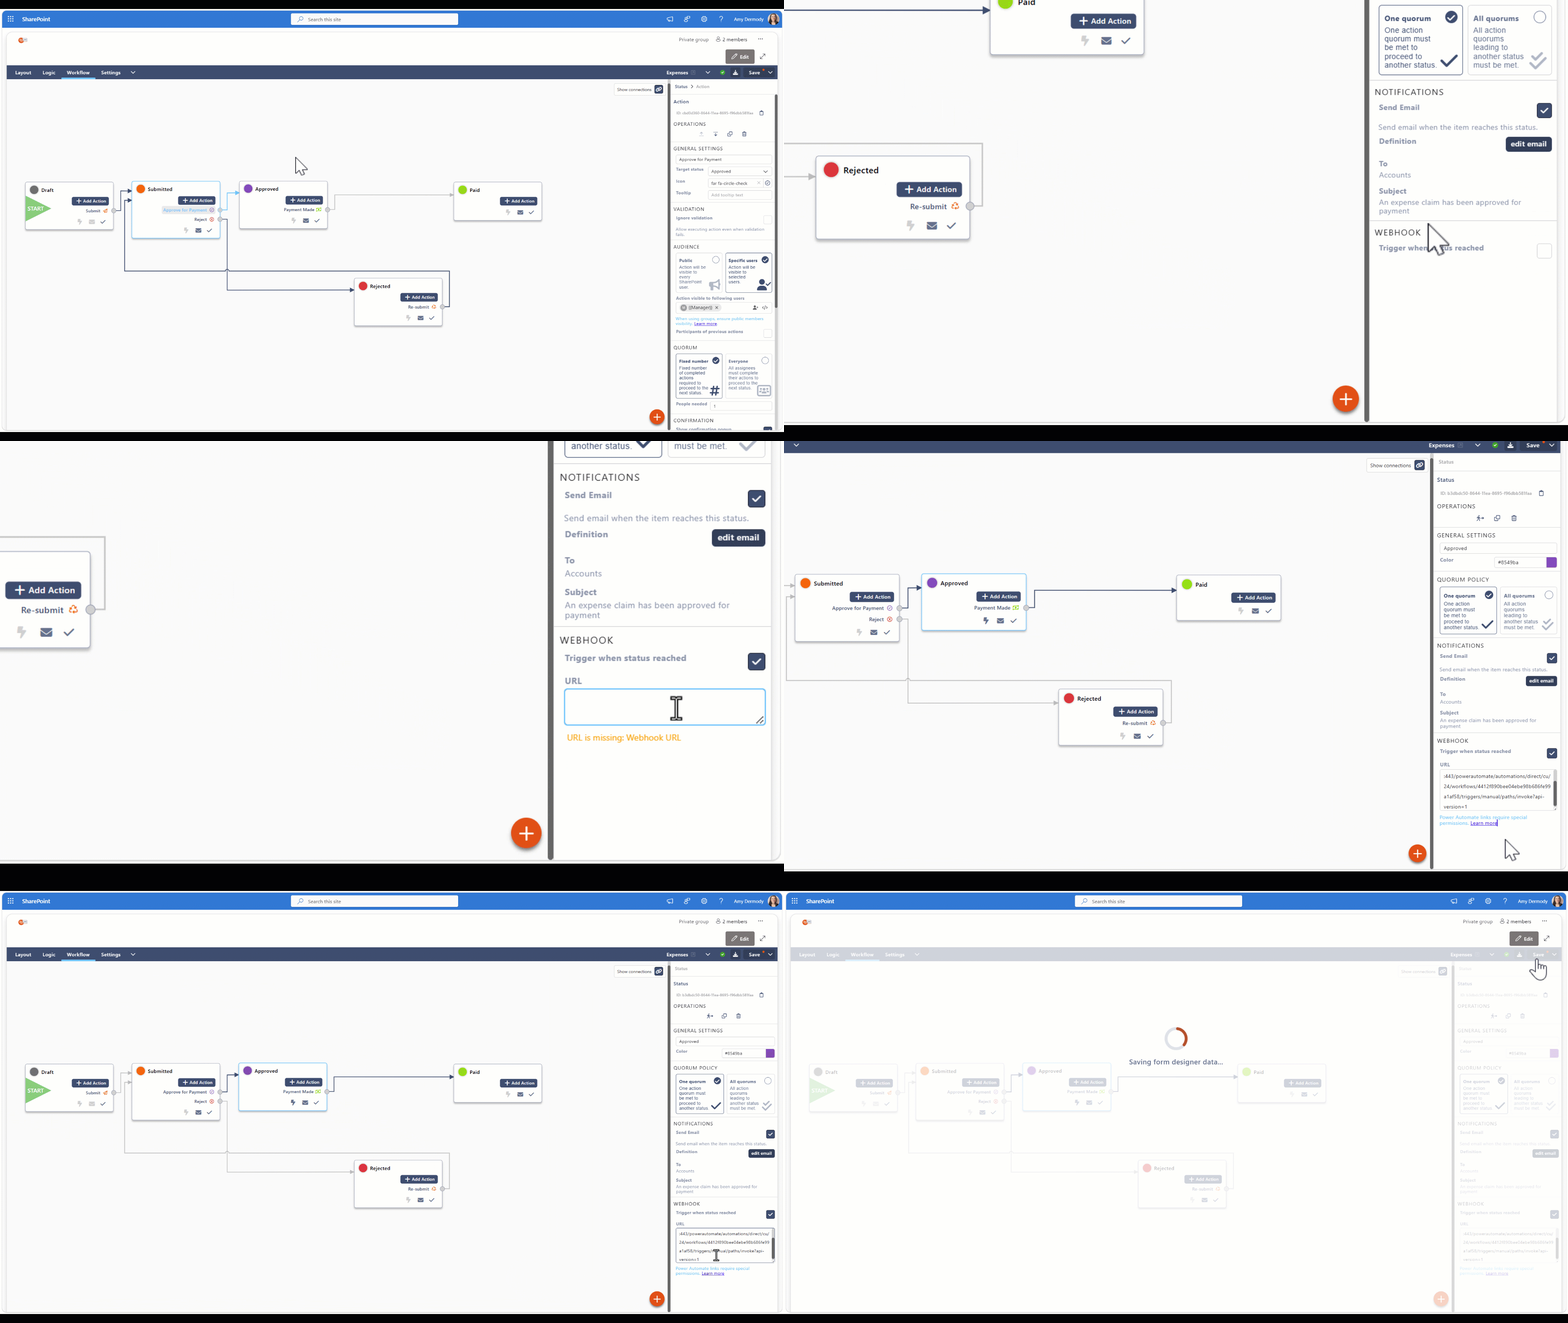
Open the relevant configuration in the Sintel Apps Designer and navigate to the workflow status where you want to trigger the Power Automate flow.
Add or configure a Webhook action.
Paste the URL generated by Power Automate into the Webhook URL field.
Sintel Apps automatically recognises supported Power Automate URLs. When a Power Automate URL is detected, additional information and guidance is displayed in the Designer.
Save your configuration.
Step 3 – Configure the Required App Permissions
Before Sintel Apps can call the Power Automate webhook, the appropriate application permissions must be granted.
Open the Sintel Apps Admin Panel.
You can access the Admin Panel by following this link: Administration – Sintel Apps
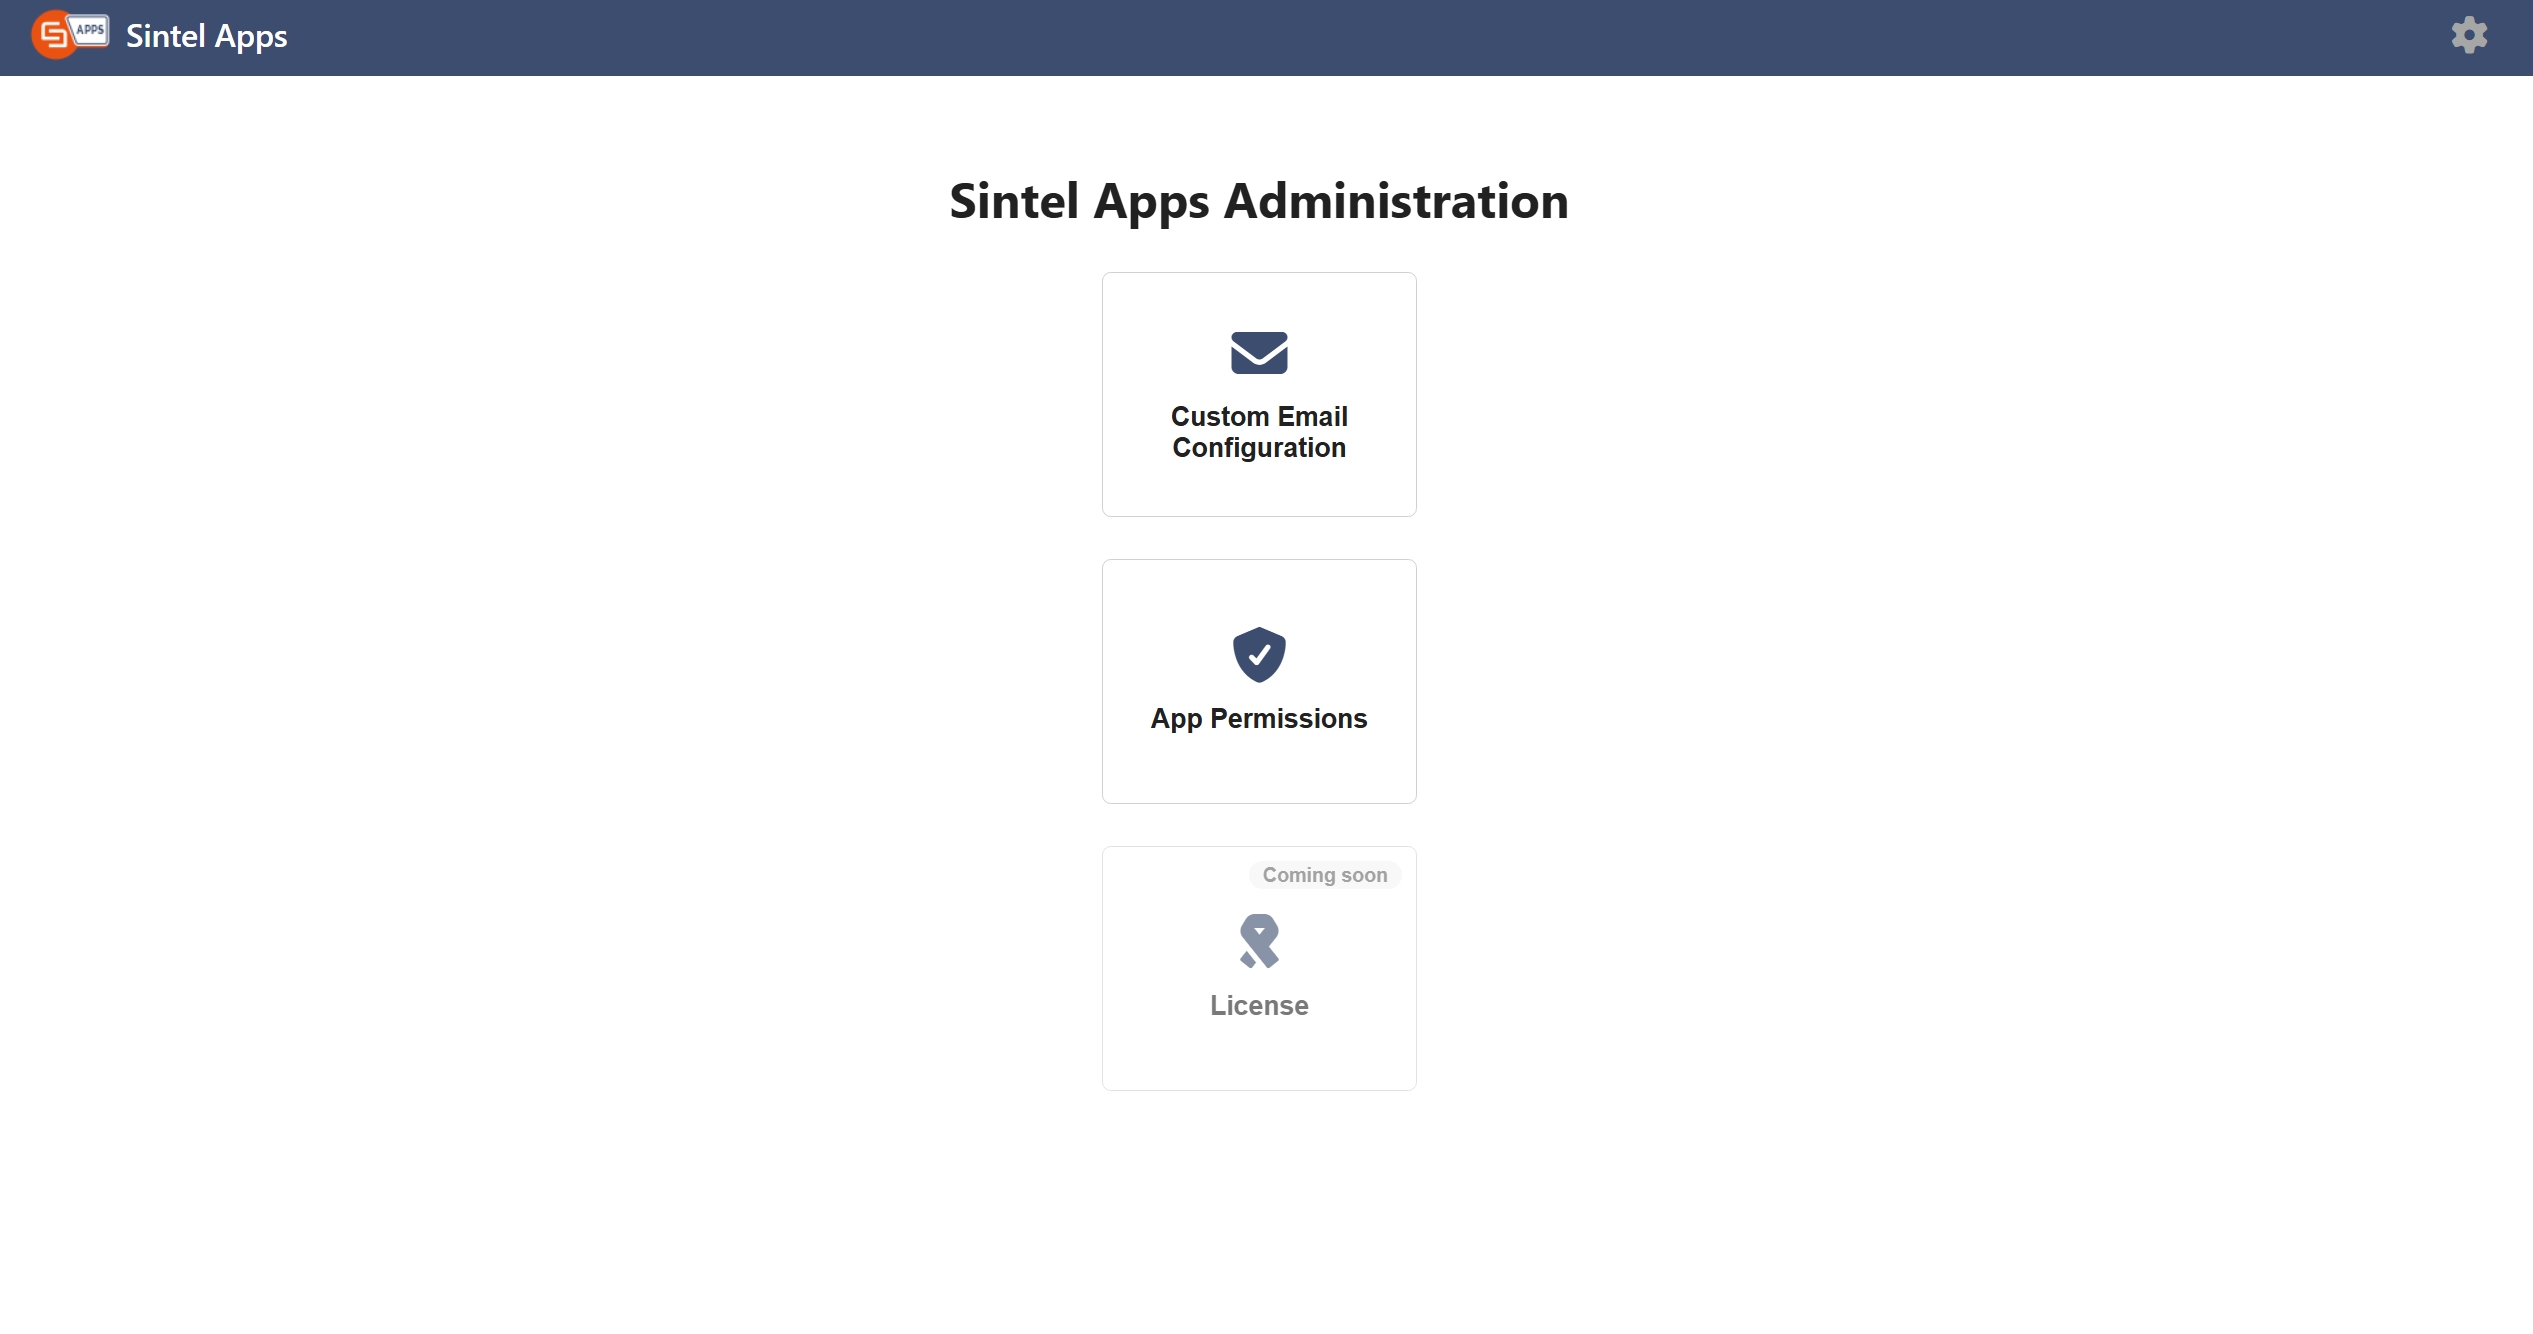
Select App Permissions
Locate the Power Automate/webhook permissions section and create the required consent link.
Copy the generated consent link to your clipboard.
Step 4 – Grant Consent
Open the consent link generated in the previous step.
The Microsoft consent screen will appear and display the permissions required by Sintel Apps.
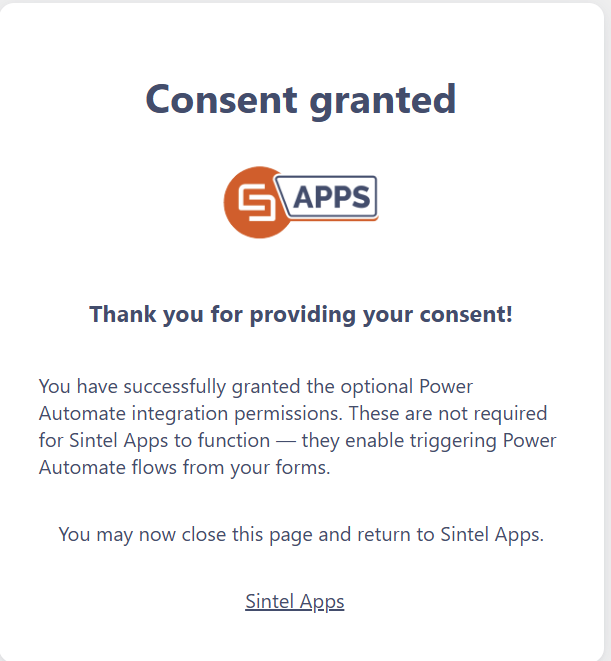
Review the requested permissions and grant consent.
This step normally needs to be completed by a user with sufficient Microsoft 365 / Entra ID permissions to grant the requested consent.
Once consent has been successfully granted, return to Sintel Apps.
Step 5 – Test the Webhook
Once:
- The Power Automate webhook URL has been added to the workflow, and
- The required application consent has been granted,
the integration is ready to test.
Perform the workflow action in Sintel Apps that contains the webhook.
The webhook should call the configured Power Automate URL and trigger the flow.
You can confirm that the flow was triggered by opening Power Automate and checking the flow’s Run history.
If the flow ran successfully, the webhook integration is configured correctly.
Example Use Case – Create an Item in Another List
A simple example is creating a SharePoint list item when a particular action occurs in a Sintel Apps workflow.
Your process could work as follows:
Sintel Apps workflow action → Webhook → Power Automate → Create SharePoint item
For example:
- A request is created and processed using Sintel Apps.
- A user completes a particular workflow action.
- The workflow action triggers the configured webhook.
- The webhook starts the Power Automate flow.
- Power Automate uses the Create item action to create a new item in another SharePoint list.
From there, the flow can use information supplied by the process to populate the required SharePoint fields or perform additional automation.
This is particularly useful when a Sintel Apps process needs to initiate another business process or integrate with other systems.
When Should You Use a Power Automate Webhook?
Power Automate webhooks are useful when an action in Sintel Apps needs to initiate processing outside the form or workflow.
Typical examples include:
- Creating an item in another SharePoint list.
- Starting a separate business process.
- Updating information in another Microsoft 365 service.
- Passing information to another application or system.
- Triggering additional processing that is managed in Power Automate.
For simple workflow operations that Sintel Apps already supports natively, it is generally better to use the built-in workflow functionality rather than introducing an additional Power Automate flow.
Troubleshooting
If the Power Automate flow is not triggered, check the following:
Webhook URL
Confirm that the complete URL generated by Power Automate has been copied into the webhook configuration.
App permissions
Open the Sintel Apps Admin Panel and confirm that the required application consent has been granted.
Power Automate flow
Confirm that the flow is enabled and that its trigger is configured correctly.
Run history
Check the flow’s Run history in Power Automate. If a run appears but has failed, open the run to identify which step caused the error.
Configuration changes
If you have changed the webhook or workflow configuration, make sure the latest Sintel Apps configuration has been saved before testing again.
Summary
Power Automate webhooks provide a simple way to extend Sintel Apps workflows with additional automation.
The configuration consists of three main steps:
- Create the Power Automate flow and copy its webhook URL.
- Add the URL to a webhook in the Sintel Apps workflow.
- Use the Sintel Apps Admin Panel to grant the required application consent.
Once configured, completing the relevant workflow action in Sintel Apps will trigger the Power Automate flow automatically.